What Is a Fabric Testing Machine and How Does It Work?
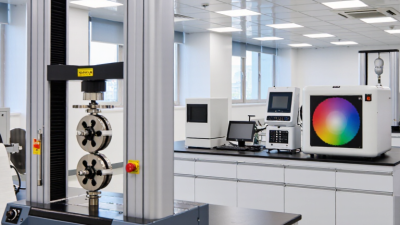
A Fabric Testing Machine turns a fabric sample into measurable evidence. It can apply tension, rubbing, pressure, or repeated flexing while sensors record how the material responds. In a laboratory, a technician may clamp a narrow strip, check its alignment, and watch a load reading rise as the machine pulls. Small details matter. A crooked sample or loose grip can distort the result.
The right machine depends on the question. A tensile tester measures force and elongation; an abrasion tester tracks surface wear. Results help manufacturers compare materials, investigate defects, and assess whether a fabric suits its intended use. Still, a test result is not the whole story. Fabric construction, conditioning, sample preparation, and test settings all affect what the numbers mean.
No verifiable expert quotation was provided, so this introduction avoids attributing invented words to a named specialist. A useful guiding principle is simple: “A test is only as reliable as the sample, setup, and method behind it.” That reminder is easy to overlook. The sections that follow explain the machine’s main parts, how a test runs, and how to interpret its results with care.
Definition and Purpose of a Fabric Testing Machine
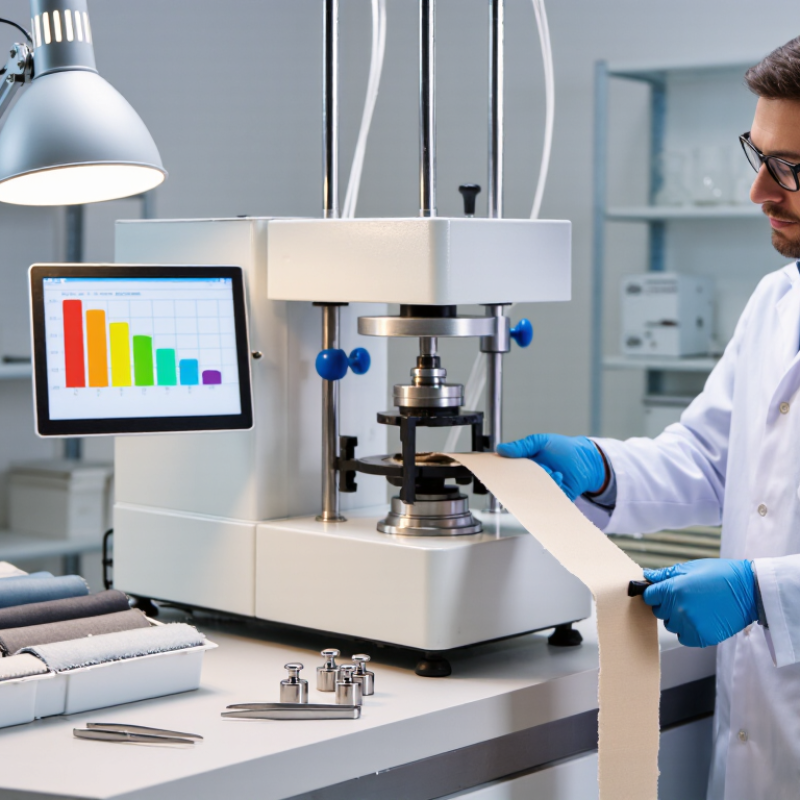
A fabric testing machine is equipment used to measure how a textile responds to controlled force or repeated movement. Depending on its attachments, it can assess tensile strength, tear resistance, seam performance, stretch, or abrasion. The purpose is to turn observations into comparable measurements. A technician can clamp a fabric strip, set a test speed, and record the force needed to break it. Small details matter. The strip’s width, direction, and conditioning can affect the result, so samples should be prepared consistently.
During a test, sensors track force and movement while the machine applies a defined load. Software may display a force curve, maximum strength, or elongation at break. These measurements help manufacturers compare materials, check production consistency, and investigate failures such as a torn seam or a weakened coating. Results are useful only when the method matches the fabric and intended use. A number alone can mislead. For instance, a strong fabric may still feel uncomfortable or perform poorly after washing. Machines also need calibration, careful setup, and trained operators. Even then, test conditions cannot represent every real-world situation, which is worth keeping in mind when interpreting a report.
Main Components and Testing Functions
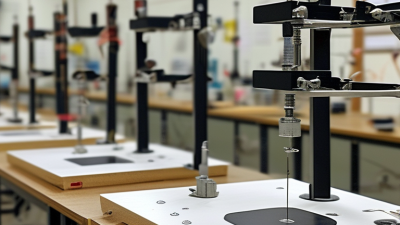
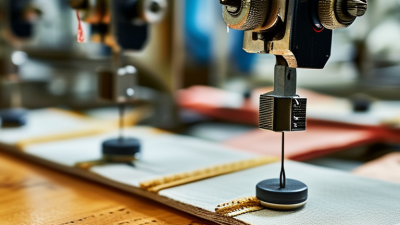
A fabric testing machine measures how textile materials respond to controlled force, movement, and friction. Its rigid frame keeps the test stable. Clamps hold the specimen without stretching it prematurely. A motor applies a precise load or speed. A load cell records force, while displacement sensors track elongation. The control system converts these signals into curves, values, and test reports.
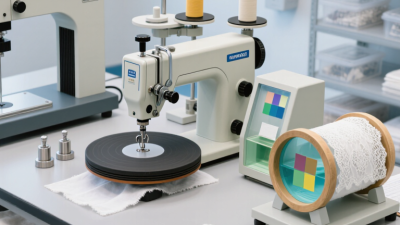
Different attachments support different testing functions. Tensile fixtures measure breaking strength and extension in warp and weft directions. Tear fixtures show how quickly a cut spreads through the fabric. Bursting tests apply pressure through a rounded diaphragm, which suits knitted materials. Abrasion wheels rub a sample repeatedly, revealing surface wear. Pilling boxes or rollers create controlled rubbing and help assess fiber balls. Seam-slippage fixtures examine whether yarns move beside a stitched seam.
Reliable results depend on more than pressing “start.” Laboratory staff should condition samples under controlled temperature and humidity. They must check gauge length, crosshead speed, clamp alignment, and calibration status. A small wrinkle can change the failure point. It happens. A perfect graph can still reflect poor preparation. Operators should inspect broken edges and record unusual behavior, such as yarn pull-out or clamp damage. Test software improves repeatability, but experienced judgment remains necessary when fabric structures behave unexpectedly.
How a Fabric Testing Machine Operates Step by Step
A fabric testing machine turns a material sample into measurable evidence. Textile Exchange’s Materials Market Report 2024 estimates global fiber production reached 124 million tonnes in 2023. At that scale, repeatable testing matters. The exact procedure depends on the property being checked, such as tensile strength, stretch, or seam performance.
For a tensile test, an operator first conditions the fabric and cuts a sample to the required dimensions. The sample is clamped between two grips. Too much tension during setup can distort the result. The operator enters the test speed and other settings, following the selected method, such as ISO 13934-1 for strip tensile properties. The machine then pulls the sample while sensors record force and extension. Watch the grips closely. Slippage can make a strong fabric appear weak.
When the sample breaks, or reaches the method’s endpoint, the software displays the measured values. The operator checks for an unusual break near a grip and repeats the test with fresh samples when needed. Results are compared across specimens, not judged from one reading alone. A neat graph can still hide poor preparation. Record the fabric direction, conditioning details, settings, and any irregularities so another technician can understand how the result was produced.
What Is a Fabric Testing Machine and How Does It Work? — How a Fabric Testing Machine Operates Step by Step
| Step |
Operation |
What the Machine Does |
Typical Output |
| 1 |
Select the test method |
The operator chooses a method suited to the property being evaluated, such as tensile strength, tear strength, seam strength, or bursting strength. |
Test method and required specimen setup. Applicable procedures depend on the material and standard being used. |
| 2 |
Prepare and condition specimens |
Fabric specimens are cut to the dimensions specified by the selected method. When required, they are conditioned in a controlled atmosphere before testing. |
Specimens ready for testing, with orientation and dimensions recorded. |
| 3 |
Configure the machine |
The operator selects the appropriate load cell, grips or fixtures, test speed, and other method settings. The load cell measures force; the machine’s drive system controls movement. |
Test setup matched to the specimen and selected procedure. |
| 4 |
Mount the specimen |
The specimen is aligned and secured in the grips or placed in the appropriate fixture. Correct alignment helps reduce slippage and uneven loading. |
Specimen held in position with the test direction correctly aligned. |
| 5 |
Start the test |
The machine applies a controlled force or movement. For a tensile test, for example, the grips move apart and stretch the specimen until the method’s endpoint is reached, often rupture. |
Force and extension data collected during the test. |
| 6 |
Detect the endpoint |
Sensors monitor the specimen’s response. The test ends when the specimen fails or when the selected procedure’s stopping condition is met. |
Maximum force, extension at a defined point, or another method-specific result. |
| 7 |
Review and report results |
The software processes the measurements and presents results for review. Replicate results can be compared or summarized according to the selected method. |
A test record that may include specimen details, settings, force data, and calculated results. |
Common Fabric Properties Measured
Fabric testing machines measure how cloth behaves under controlled force, friction, heat, moisture, or airflow. Common tests examine tensile strength, tear resistance, abrasion, pilling, colorfastness, dimensional change, mass per unit area, and air permeability. The Textile Exchange 2024 Materials Market Report estimates global fiber production reached 124 million tonnes in 2023. That scale makes consistent testing useful: a small variation in fabric performance can affect many rolls and finished garments.
A tensile tester grips a fabric strip and pulls it until it stretches or breaks, recording force and elongation. Tear tests measure how much force propagates a cut; abrasion testers rub a sample repeatedly to reveal wear, while pilling tests assess surface fuzz and knots. ISO 13934-1 describes a strip method for measuring fabric tensile properties, and ISO 12947 covers abrasion resistance using the Martindale method. Colorfastness tests expose samples to washing, rubbing, or light, then compare fading or staining against reference scales. Details matter. Results can shift with sample direction, conditioning, and test settings.
Other machines measure shrinkage after washing, fabric weight in grams per square metre, or airflow through a defined area. These numbers help buyers compare materials, but they do not capture every real-use condition. A fabric may pass a lab abrasion test and still wear poorly at a seam. That mismatch is worth checking, not ignoring. For dependable comparisons, labs should record the method, specimen preparation, conditioning, and test conditions alongside each result.
Applications, Standards, and Result Interpretation
What Is a Fabric Testing Machine and How Does It Work?
A fabric testing machine applies controlled force, pressure, or repeated movement to a textile specimen. It measures how the material behaves before failure or permanent change. Common applications include tensile strength, tear resistance, bursting strength, seam slippage, abrasion, and stretch recovery. These tests support quality control in apparel, upholstery, protective clothing, and technical textiles. Small details matter. Specimen direction, cutting accuracy, clamp pressure, and moisture conditioning can affect the result.
Reliable testing follows a recognized method, such as an ISO or ASTM procedure. The laboratory should record the standard version, sample preparation, test speed, load cell capacity, and environmental conditions. Testing at standard temperature and humidity improves comparison between batches. Still, standards are not interchangeable. A value from one method may not predict performance under another method. That point is often underestimated.
Result interpretation requires more than reading the highest number. A tensile report may include maximum force, elongation, energy, and breaking location. A steep curve can indicate stiffness, while greater elongation may suggest flexibility. Review the average, range, and coefficient of variation together. A high variation can signal uneven yarns, poor conditioning, or inconsistent cutting. The failure mode also matters. A neat break differs from slippage at the clamps. In practical testing, a perfect-looking result can still hide a setup error, so unusual data deserves a repeat test and a written explanation.





 Home